Are you aware that the way you are doing Yoga, might damage your body in the long run?
Uuuuhhhhh...
that feels soooo gooood...
Yoga is a highly personal artform of physical movement and needs to be addressed as such.
Generic instructions are often not taking into account our differences in Body, Proportions, Bones, Flexibility etc.
Please note that each posture takes me about 1/2 to 1.5 hour to teach workshop style, and that there are many, many details to understand that are not be obvious from the pictures.
It’s like a powerful ritual. You do it properly.
This page shows images of our students and explains in short how each posture can be amended to improve openness, comfort, breath, effectiveness and eliminate crunching, pain and discomfort that you might or might not have been aware of.
I aim to explain where ‘modern’ yoga in fact harms the body, closes energy lines, crunches vertebrae and the disks in between, stretches the wrong muscles (as students are not aware what a posture is really supposed to open), restricts breath and thus life force Prana, and often tenses muscles that are supposed to be stretched.
Bone compression, muscle tension, flexibility, rotation ability, length of arms and legs in relation to each other and the body, bad habits, all influence our yoga practice greatly and means that we all need to do postures slightly differently.
It’s about YOUR body, and making sure the posture works for your body, rather than the other way round.
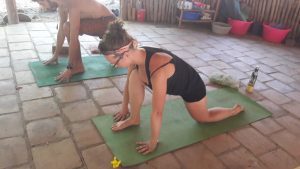
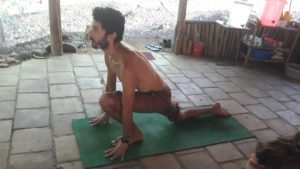
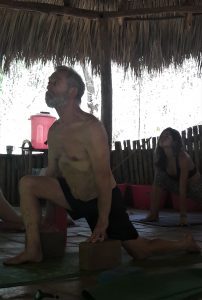
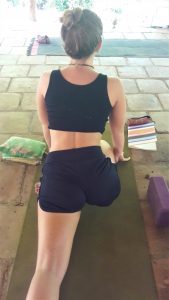
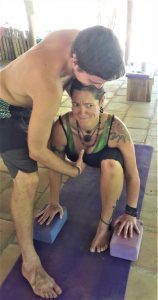
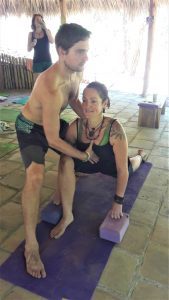
Low Lunge
The first student is hunched over her legs, crunching her front body, restricting her breath. It is solely a leg stretch, disregarding the rest of the body. Her lower back leg is slightly turned inwards, changing the stretch of the back leg to the inner thigh, instead of the front of the back leg, where it is supposed to be.
The second student has his knee in front of his front ankle and is therefore jepardising his front knee and taking away from the front leg ham string stretch.
This student has short arms in relation to his upper body and was given blocks to open his upper body, creating a full unrestricted breath and energy flow. His knee is still a little forward, causing a little stress on the knee and the wrists are not under the shoulders, creating tension in the upper body.
Pidgeon
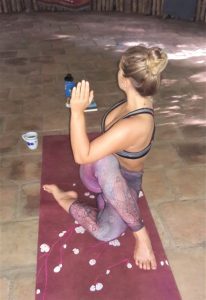
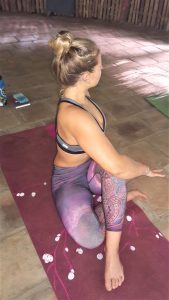
This students hip is collapsed to the right, creating a side bend and crunch in the lower right spine, over which she is then doing a back bend. This hip mal alignemnt also changes the stretch from the front of the back upper leg to the inside thigh instead, which means this posture does not stretch the part of the body it was designed to stretch.
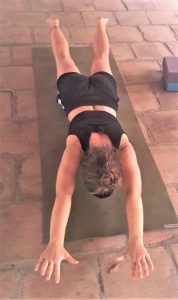
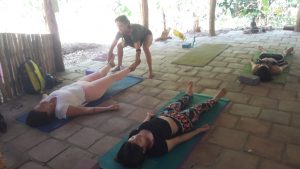
Shalabasana and a test posture lying on the back
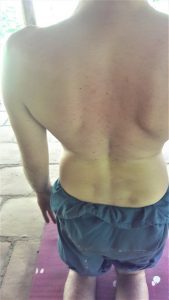
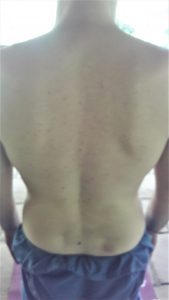
Can you see how this student’s body curves from the waist to the side? This causes uneven muscle use and can be the cause of pain or the result of tensed muscles.
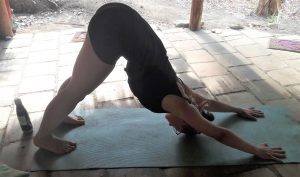
Down Dog
The ideal down dog? Or is it? Did you know that I (after 25 years of yoga) cannot do Downdog like this? Some of us will never have a curve in our back like this, not because of tension, but because of bone compression. Everybody has a little bone in their shoulder that stops the arms going too far backwards. This bone determines how far back your arms can go. In he first picture, the students bone is very short, so the majority of this movement for her comes from the backwards movement of her arms. You can see the movement is coming from the shoulders, not the lower back.
The direction of her shoulder movement is towards the floor, causing a closing and crunching of her shoulders, upper back and depending on her bone sructure, also her lower back. She is pushing her heels to the ground, thus tensing the calf, hamstring and butt muscles that this posture is actually aiming to stretch.
In the second picture you can see nicely how the position of the arms changes depending on the position of that little bone.
Sitting Corrections
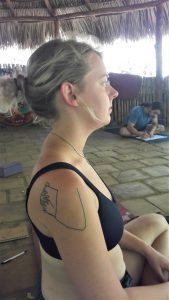
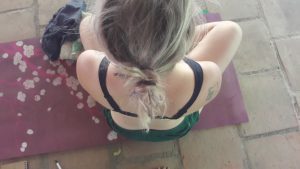
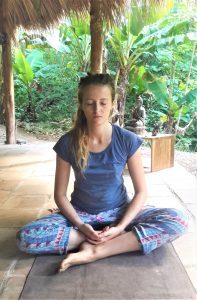
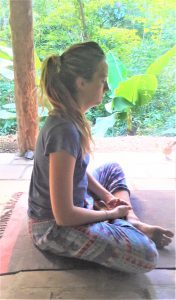
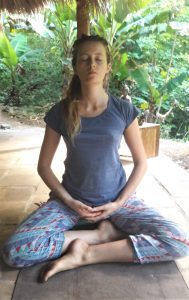
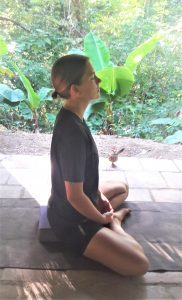
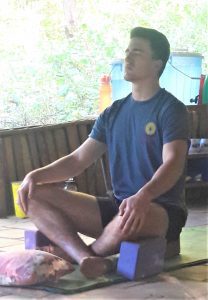
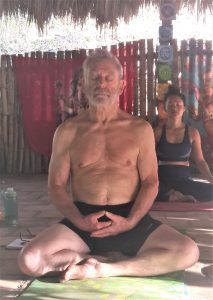
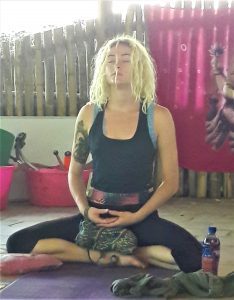
Please note that none of these students could sit for extended periods of time without discomfort. Ever. Some only as little as 2 minutes. After adjustment, sitting was effortless for long periods.
Beautiful straight sitting posture do you think? Yes, but why is it still hurting? Look at the small detail in the right picture, can you see it? Yes, her right shoulder is ever so slightly twisted to the back. We corrected that and years of sitting pain disappeared. It’s the little things.
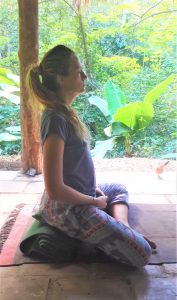
This students back was hunched over (requiring tensing of the lower back muscles to push forward and straighten her back), her shoulders hunched forward, her neck collapsed (creating tension in her entire back). Her left knee is higher than her right, creating in tension in the groin area, which also pulls on the psoas muscle, creating tension in the lower back.
Here, with slight adjustments and understanding how to sit correctly, the posture is open, effortlessly aligned and discomfort free. Please note we have not just sat her on a mat/block, but also explained how to sit on a block/mat properly (no, it’s not just to give you extra height…)
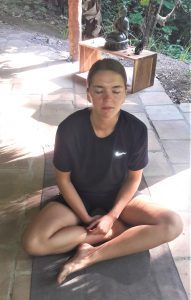
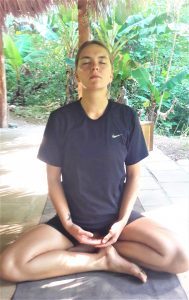
Same issues and corrections with another student.
Before
After
Sometimes it takes a lot of props, but still, pain free effortless sitting is achieved! And that’s ok. You can loose the props with time.
A couple of our students still in disbelieving bliss that he can finally sit cross legged effortlessly
Side Angle
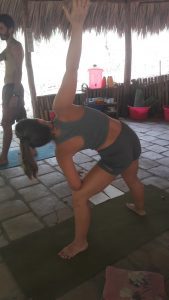
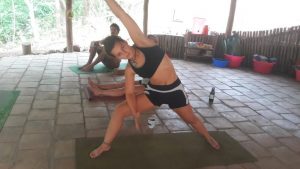
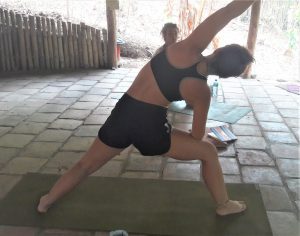
The first image shows a fully collapsed left side, and the ceiling facing upper arm prevents full side elongation.
The second image shows the right side fully open and the left side fully extended. No side is closed to open another.
Lying Turn
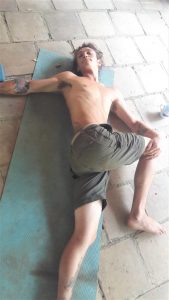
This is the modern way of doing the lying turn. The right knee is pushed to the ground, creating a strong twist/crunch in the lower spine. This is NOT a full spinal rotation this way. The right arm aids this twist, but does not aid a full spinal elongation. Often the right shoulder lifts of the ground, closing the back. If ankered on the ground, it tenses muscles you’re trying too stretch… This posture is NOT beneficial for your spine this way. There are a few slight tweaks that can make this posture into an experience of elongation, openess and full spinal rotation that you have never had.
A crunched back after a bad accident
Physical adjustments that were made: shoulders neutral and relaxed, instead of back and down, unlock hyper extended knees to release the lower back crunch, lengthening of the torso, slight side to side adjustment and relax. This took 2 minutes. The results took away pain completely.
Ardha Matsyendrasana
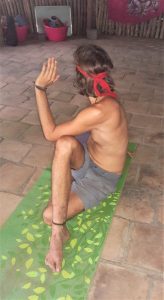
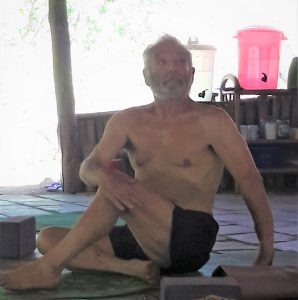
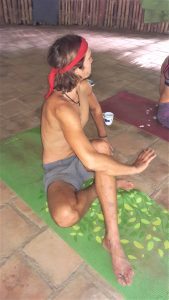
The first image shows the student with his leg past the knee. This students flexibility does not allow for this yet, therefore the left shoulder is pulling on the knee, making the main rotation come from the shoulder, rather than the entire spine. The chest is also close because of that, and the left shoulder blade is being yanked. The right arm is pulling the right shoulder to far back, resulting in the right shoulder blade also being closed. Breath is restricted, the posture feels closed.
For this student the rotation comes solely from the upper body and the shoulders, not the entire spine, which often results in discomfort or pain in the middle back if not now, in the future, as the spine is being twisted and thus compressed over and over in that exact same area.
In this second image, the foot position has been changed for another student, creating a more open body, open shoulders, full breath and full spinal rotation.
For the student in this position, the foot is also past the knee. You can see that her knee is falling to the side, firstly creating an unnatural angle in her left angle, but also lifting her right butt cheek. Her upper body is also tilting to the left a little, to be able to get her elbow past the knee.
Twising the ankle like this (I have seen more extreme twists), is not god for the ankle. The butt cheek lifting off, creates a side bend in the lower spine, over which she then does a twist. This confuses and crunches the spine, not allowing for a clean turn. If she would ankor her butt cheeks to the ground, she would use/tense muscles in her but and lower back, which are actually the muscles she wants to stretch, thus being counterproductive. The simple remedy for this student is also to change her foot position, which addresses all of the above issues.
Same posture, this students back is curved , thus not allowing for a clean turn. By repositioning the foot, the lower back is straight, allowing for a full clean spinal rotation. Same posture benefits apply as for the other students above.
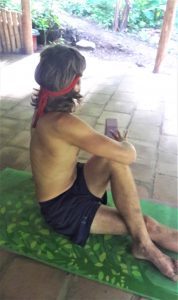
This was another variation to relieve his bend knee discomfort. Although in this picture he is leaning ever so slightly backwards which he wants to avoid.
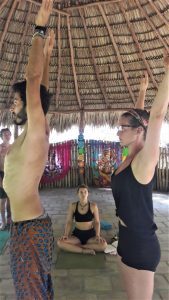
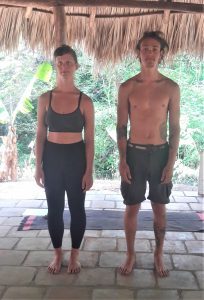
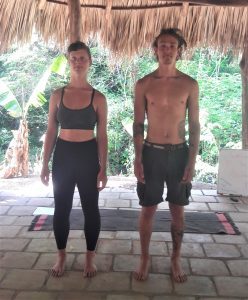
Standing
Before and after standing. The changes are subtle but if you enlarge the pictures, don’t analise their posture, but rather what you perceive from their personalities through their posture.
Body Shapes
“Make sure your hands are in alignment with your shoulders for bone stacking and strength”. Can this student do that? You might have to enlarge this photo to really see what’s going on. This is the way her arms naturally are.
Curved Backs
Curved backs like this are common and often habit, rather than a physical issue. A back continuous back bend in the lower back causes the disks in the lower vertebrae to be permanently crunched. If in yoga on top of that we do a turn or a side bend, we confuse the spine and create double crunches. There are many little ways of how the back can be effortlessly straightened with knowledge, awareness and practice.
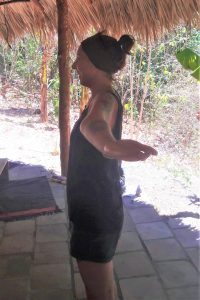
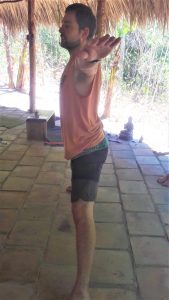
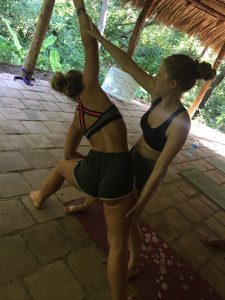
Teachers own postures while making adjustments
Our teachers also learn proper posture while adjusting their students. First picture shows the student hunched over, closing his own energy, the adjustment energy coming from his lower back. Imagine doing all of your adjustments like that. Your body will hurt after a while. (please pay attention too the receiving students delighted face in the first picture :o) The second image shows the students fully aligned himself, with the adjustment power coming from the legs instead.
Here our student teacher is using her posture and own body weight to ‘push’ the upper arm effortlessly and controlled.
Here the student teachers power comes from her legs, not her lower back, making for a happy adjustment and a safe practice for the teacher.
Next time you do yoga, check:
- Can you take a full unrestricted breath of air in every posture?
- Are you 100% sure of what you are supposed to stretch? And can you feel it?
- Are the muscles you want to stretch relaxed?
- Is it really a stretch you’re feeling or could it actually be tension?
- Are you closing/crunching a side of your body to open and stretch another?
- Can you comfortably sit for 1 hour cross legged without pain?
- Check your lower back in a back bend. Are you you a 100% sure it’s a stretch you’re feeling, or might it be a crunch?
Click here to contact us
Click here to see our great XianYoga Intro videos

